Ethereum Tutorials - Herong's Tutorial Examples - v1.06, by Herong Yang
Setup MetaMask Extension for Chrome
This section describes how to setup MetaMask extension for Chrome.
After installing the MetaMask Extension for Chrome, I did the following to set it up:
1. Click the MetaMask icon, or click "Extension > MetaMask", near the top right corner of the browser window. You should see MetaMask extension running in the browser window.
2. Click the "Get Started" button and accept the terms and conditions. You should see two options: "Import Wallet" and "Create a Wallet".
3. Click "Create a Wallet" to create a new wallet. You should see the new password screen.
4. Enter a new password, "herong^yang", and click "CREATE" to create a new account. You should see a secret recovery phrase generated by MetaMask.
5. Copy and save the secret recovery phrase in a safe place, and click "Next". You should see MetaMask prompting you to enter the secret recovery phrase.
6. Enter the secret recovery phrase and to finish creating the new wallet.
The new Ethereum wallet is ready on Chrome.
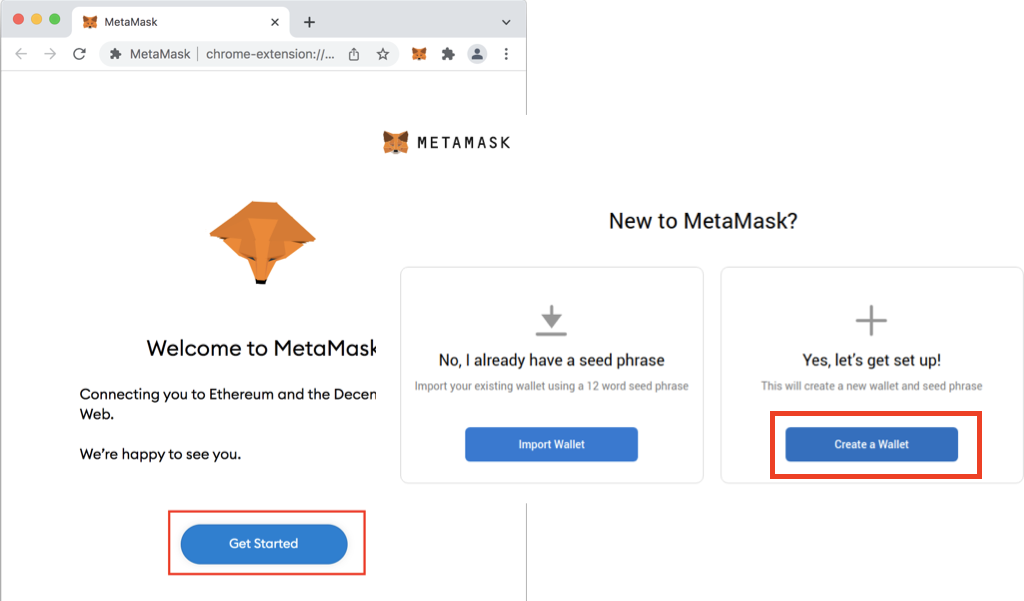
Table of Contents
Deprecated: Testnet - Ropsten Network
64-Bit "geth" for Private Ethereum Network
Private Network with Custom Genesis Block
Transferring Funds between Ether Accounts
►MetaMask - Browser Based Ethereum Wallet
Install MetaMask Extension for Chrome
►Setup MetaMask Extension for Chrome
Install MetaMask Extension for Firefox
Add Ethereum Test Network in MetaMask
View Ethereum Account Address in MetaMask
Add Ethereum Network Manually in MetaMask
Connect MetaMask to Local "geth" Node
Getting Free Ether on Test Networks